

Supplies: Styrofoam cone, burlap cut into strips about 2 inches wide, assortment of trims or buttons, hot glue gun and glue sticks.
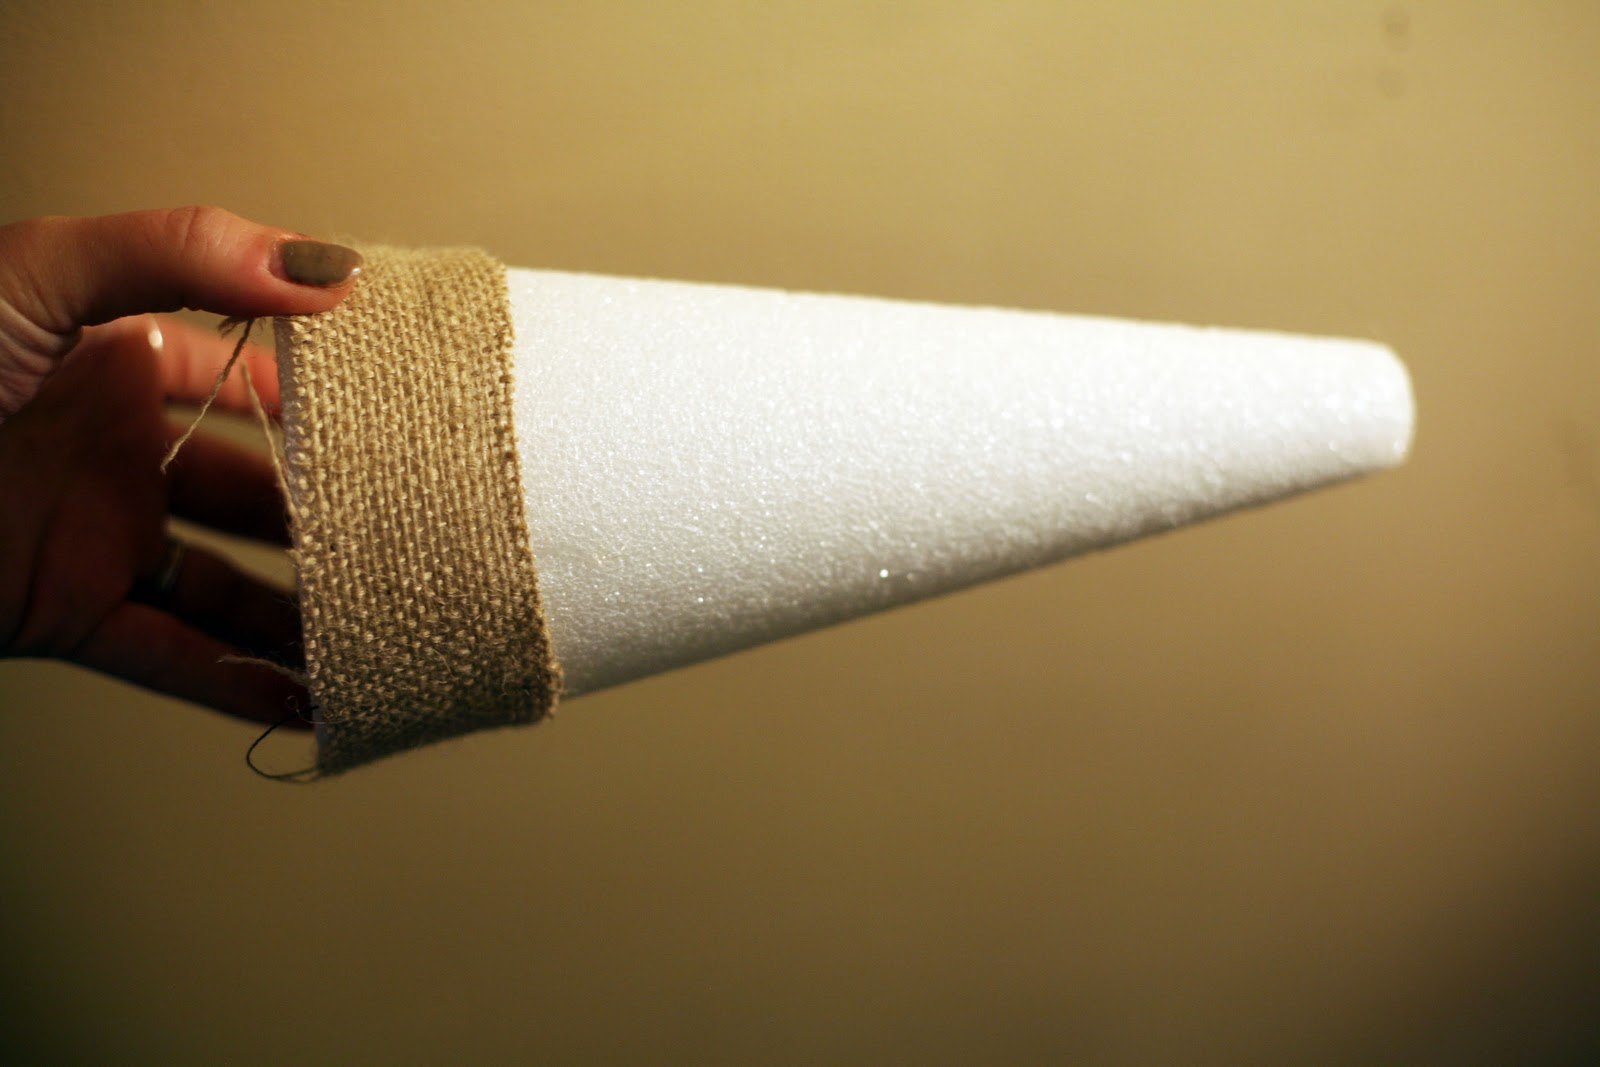
Cut a strip to fit around the bottom of your tree with about 1 inch of overlap. Glue down.

Keep repeating this until you get to the top. This is what it will look like on the back, trim up your ends. It may seem like you could just wrap a long strip instead of these shorter ones, but it just gets lumpy if you try that, trust me.

On the top strip leave enough overhanging to fold over and cover the top. Put some glue on top of the cone and fold the excess down to cover the top.
Now you can choose whatever trims or notions you like to decorate with. The first one in my picture has some lace trim wrapped around and glued in place, the second has an assortment of buttons and the third is wrapped in cream yarn. Styrofoam cones can be kind of expensive but lots of places have them on sale right now. Mine were bought for 50% off and ended up being about 2.50 each, so not bad when you figure I already had the other supplies!
We're linking this tutorial up at Flamingo Toes!
We're linking this tutorial up at Flamingo Toes!
