Showing posts with label burlap. Show all posts

Thursday, November 14, 2013

Burlap Fall Inspiration

DIY Fall Burlap Inspiration - Fall Craft Projects - Fall Home Decor

My brain isn’t ready to jump into the reds and evergreens of Christmas decorating just yet.  I’m still trying to embrace the coziness and warm colors of fall over here.  I have burlap sitting on my sewing table screaming to be made into something fall-ish, but what do I want to make? 

Here are a few inspirational burlap ideas from my favorite crafty bloggers that might help in my decision making:

I absolutely love this square burlap wreath from Craft E Magee.  The colors of the fall leaves pop against the red burlap beautifully and the square design is so unique.

These hand painted linen pillows from The Em Dash can easily be made using burlap.  You can now find printed burlap in most fabric stores and you wouldn’t need to paint your own designs if painting isn’t your thing.

This no-sew burlap table runner from Mandy at This Girl’s Life is perfect for those who want to create festive fall décor for their Thanksgiving tables.  No sewing skills needed – just burlap and hot glue.

After you’ve finished making these great projects, you can easily use any leftover scraps to make fabric acorns.  Fun, easy, and great for kids to help with.

What fall projects did you  make this season?  Did any of them use burlap?

Happy fall crafting!

~julee~

Tuesday, September 25, 2012

Make It: Fabric Acorn

fabric and burlap acorn tutorial

I’m having a little love affair with these darling fabric acorns at the moment.  I’ve seen lots of cute decorating ideas with real acorns, which can be found in great abundance in my yard right now.  However, I tried to be cute with them once upon a time, and let me just say…uh, maggots.  And that pretty much assured that this neurotic girl will never again try to cuten up her home with real acorns.  But acorn tops are surely bug free and safe for crafting, right?  Right?

fabric and burlap acorn tutorial

I used fabric scraps and burlap to make these acorns, but I have seen them on pinterest made with felted wool, and I recently purchased some from Papers N Fiber that were made from felted sweaters.  Whatever fabric or textile you have on had, these whip up nice and quick.  Here is a little tutorial of sorts with the steps using fabric:

fabric and burlap acorn tutorial

You need:  acorn top, small fabric circle sized according to how large or small your acorn top is, needle, thread, stuffing, hot glue gun

Sew a running stitch around your circle, stuff with stuffing, pull thread to cinch closed and knot, use hot glue around the entire acorn top, attach.  For the burlap, I didn’t sew the top at all.  I simply filled the circle with stuffing, pinched everything tight, and glued the acorn top in place. 

Simple and cute – my favorite kind of craft.

fabric and burlap acorn tutorial

Are you making any fall crafts?  I’d love to come check out your projects if you leave a link to your blog in the comments.

Happy fall crafting, DIY’ers!

~julee~

Tuesday, December 6, 2011

Coffee Bag Tree Skirt


Yes, it's another post about Christmas crafting with burlap sacks.  That even sounds weird when I type it. I kind of feel like a hobo.  So, in the attempt at making a neutral tree skirt for our very non-neutral tree I decided on coffee sacks.  Little bit of back info here Julee and I bought a bunch of coffee sacks several months ago from our local coffee shop and I've just been sitting on mine.  But they really are a perfect thing to use for this, durable, large and super cheap.  I had some help from my husband on this because I hate math.  Every time I've tried to make a circle skirt or tree skirt I've screwed it up somehow.  So my husband cut this out for me, because he loves math :) This is how we did it. 

First measure your bag.  I cut mine open along the bottom and side seam to make a large piece of fabric.
Cut the largest size square that you can get from your fabric.

Fold it in half and then in half again to make a triangle. Tie a string that reaches to the middle of the triangle to a marker..  Hold the string end at the upper corner and drag your marker from the middle across, making an arc.  Hopefully you can see form the picture what I'm saying.

Cut along the marker arc.

Measure how large you want your top hole to be and make a mark.  Use the same string and marker method to make a smaller arc at the top and cut.

I chose to ind the edges of my tree skirt with some homemade quilt binding.  You can also buy some already made at the craft store if you like.  To make your own cut some strips of fabric about 3 inches wide and as long as you can get.  You can sew the strips together to get a longer piece.  Fold the strip in half long ways and iron.

Open the strip up and the fold each side into the center, press.

Fold in half long ways again and press.  You now have quilt binding.

Sandwich the skirt between the binding and pin well.  Stitch close to the edge making sure to catch both sides of the binding.  Finished!!

Total this skirt cost me $3 too make.  I had the fabric for the binding on hand already.  You could leave the edges unfinished but burlap has a tendency to ravel.

Keep checking back for more fun, thrift ideas for crafting with burlap and coffee sacks!


Friday, December 2, 2011

Burlap Christmas Trees


You've probably heard that I'm on a burlap crafting kick right now.  There's just something about the color and texture that seems to fit in around my house, that and it's cheap.  I've been using an assortment of burlap bought at the fabric store and burlap and jute coffee bags that I purchased from my local coffee shop.  Pretty much everything that isn't tied down is getting covered in burlap, really.  There are coffee bags on my dining room table and couch, just waiting to get turned into a present or decoration.  The first thing I made were these burlap covered Christmas trees.  You have probably seen them around on other blogs, but this is how I did mine and it worked pretty good.

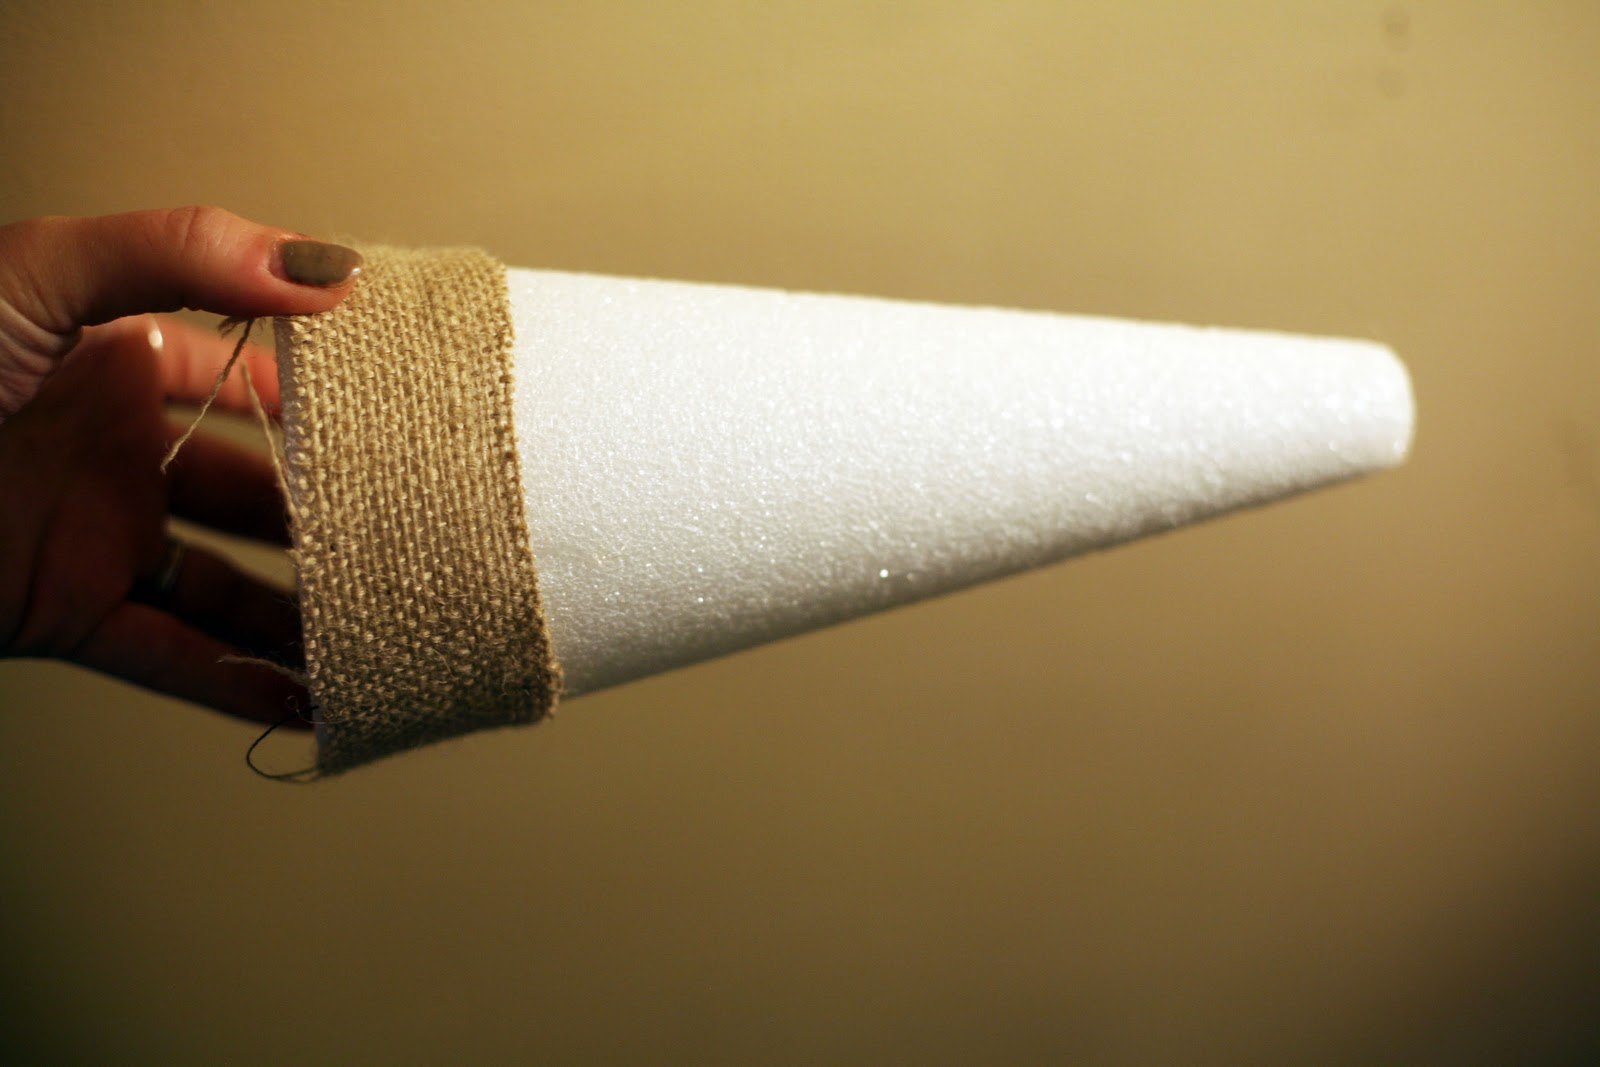
Supplies: Styrofoam cone, burlap cut into strips about 2 inches wide, assortment of trims or buttons, hot glue gun and glue sticks.

Cut a strip to fit around the bottom of your tree with about 1 inch of overlap.  Glue down.

Keep repeating this until you get to the top.  This is what it will look like on the back, trim up your ends.  It may seem like you could just wrap a long strip instead of these shorter ones, but it just gets lumpy if you try that, trust me.

On the top strip leave enough overhanging to fold over and cover the top.  Put some glue on top of the cone and fold the excess down to cover the top.

Now you can choose whatever trims or notions you like to decorate with.  The first one in my picture has some lace trim wrapped around and glued in place, the second has an assortment of buttons and the third is wrapped in cream yarn.  Styrofoam cones can be kind of expensive but lots of places have them on sale right now.  Mine were bought for 50% off and ended up being about 2.50 each, so not bad when you figure I already had the other supplies!

We're linking this tutorial up at Flamingo Toes!