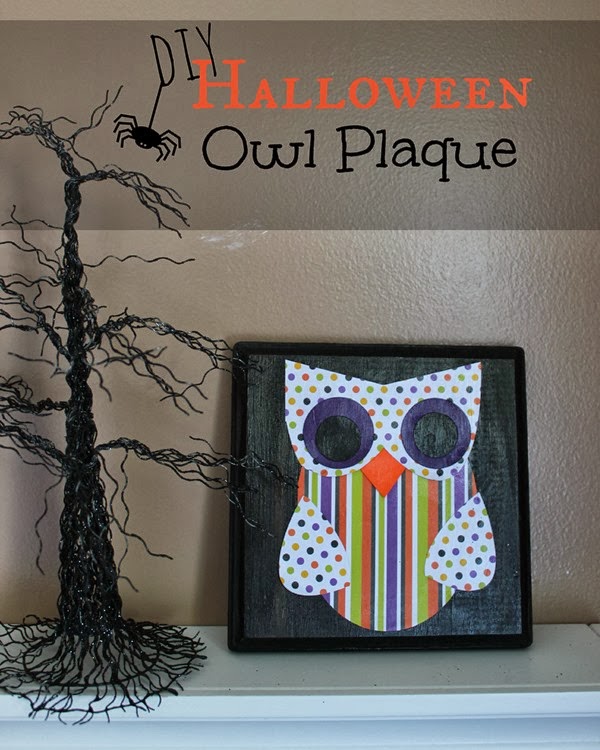
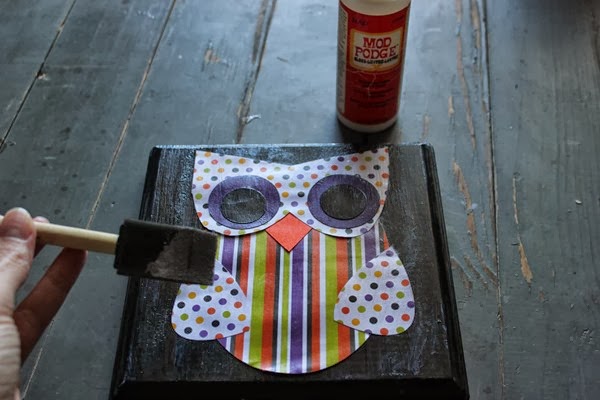
Are you ready to deck out your walls with Halloween décor? This week, I made time to create my first Halloween craft of the season. Such a sweet little DIY Halloween owl plaque, and so easy to make, too!
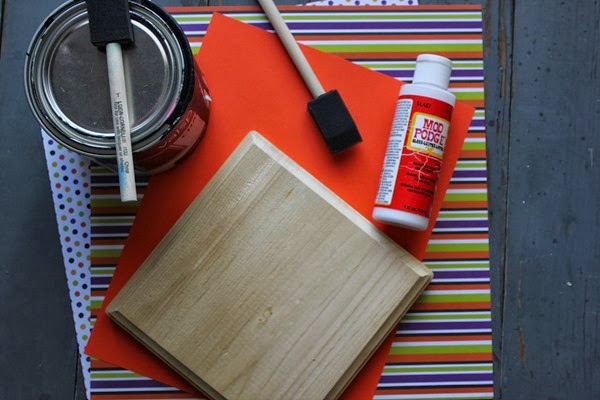
Would you like to make your own Halloween owl? You’ll need: a wooden plaque (mine measures 7x7), black paint, Mod Podge, owl template, and assorted scrapbook papers.
First, download the free owl template from Kiki(verde). Cut out your scrapbook paper in the shapes from the template. Use stick glue to piece your owl together. (This is not shown, because this genius idea didn’t come to me until too late, but it’ll make it easier, trust me.)
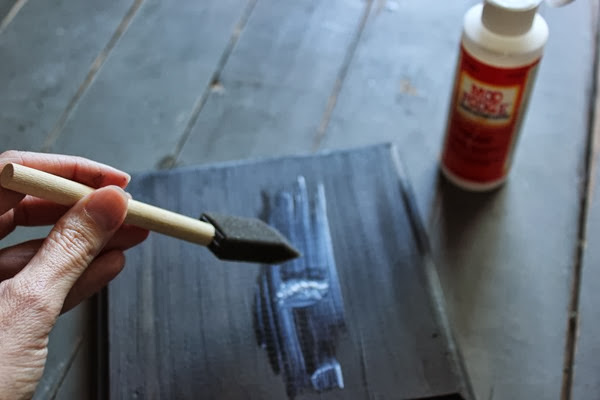
Paint your wooden plaque black. After it dries, give it a nice smooth, even, thin coat of Mod Podge.
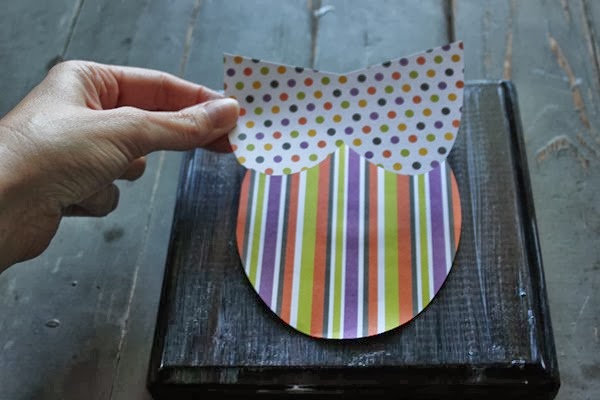
While the Mod Podge is wet, lay your owl down. Then, top your owl with a nice, smooth, even, thin layer of Mod Podge. Not too much or your paper will warp. Smooth out any air bubbles.
Once dry, your owl is ready to display amongst your spookiest décor. Whooooooo!
If you would like to hang your Halloween owl plaque, simply hot glue a ribbon to the back as a hanger.
D.I.Y. Louisville is having a Halloween party! If you’re in the Louisville area and would like to join the Crafty Halloween Party, see the full details here. For only $10 you can join us and we’ll have all the supplies you need to make your own DIY Halloween owl plaque. Plus, we’ll have refreshments and prizes, too! Email me at diylouisville@gmail.com if you have any questions!
Happy Halloween crafting, DIY’ers!
~julee~

